If I had known how simple it was to make my own drawing charcoal I would have done it from the start instead of buying some from Art supply shops. Just a few minutes on a search engine and I had all the info I needed to get going on my own.
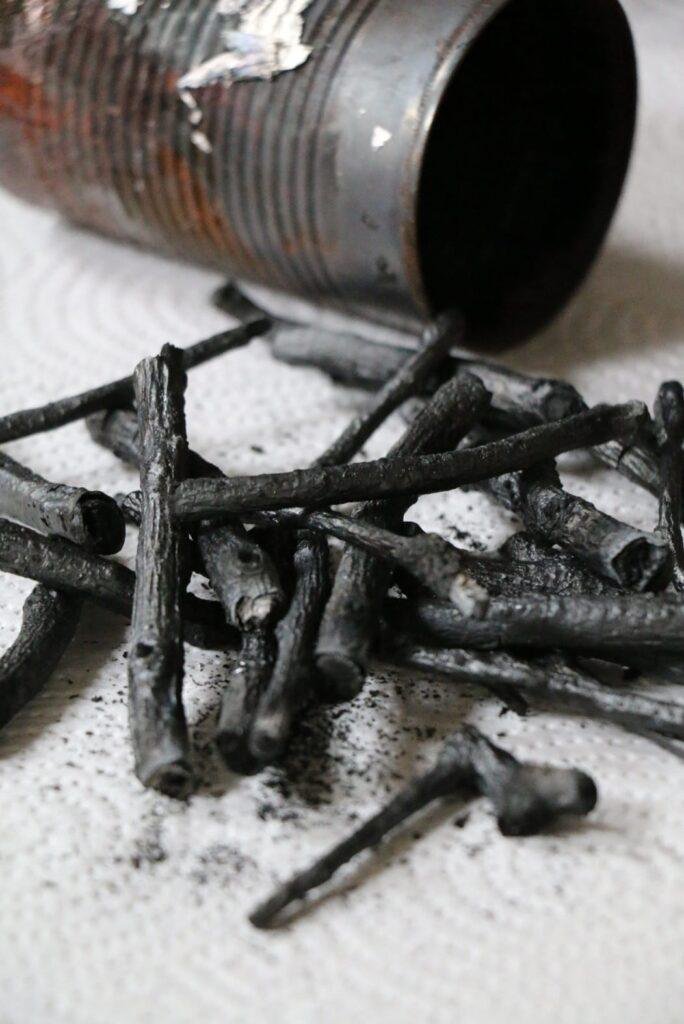
Basically, you need a tin can, such as an old bean can, pack it full with vertical cuttings of your chosen sticks, such as apple wood, or cherry tree wood etc. and cover it over with some tin foil. Make a small hole in the tin foil for the gases to escape and pop it in a fire or wood burner, where you can see it. Keep an eye on it, until it stops producing smoke through the hole, or flame (as this is the gases burning off). When this completes, take it out of the fire and turn it upside down to block the small hole in the foil and let it cool down on its own.
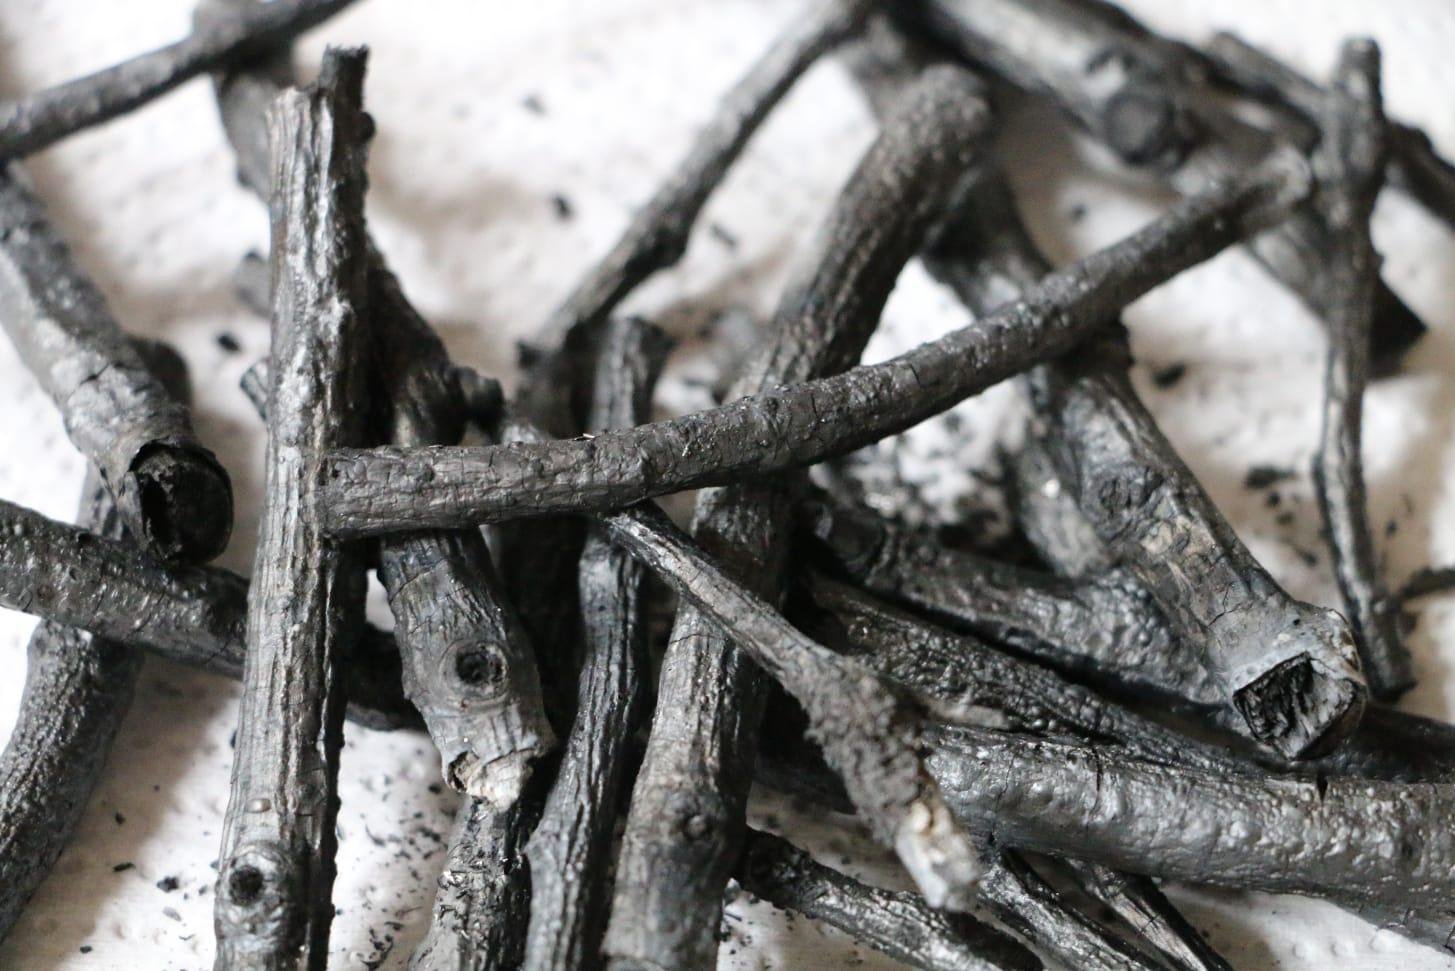
You can vary things a little, like the type of wood, how packed the can is etc, but the principles are the same. I usually do it in my wood burner and let it cool over night, I’ve not had a big fail yet. For more detail and information there is a great book out there by Kate Boucher, called Making Charcoal – A practical guide for Artists, It features some great comments by artists who make there own as well as Kates experiences.
It’s been great fun, experimenting with different types of wood or stem and what they produce, I could easily get caught up in it to the eighth degree but am doing my best to keep it art focused. Getting some twigs from the place where the picture is being made or the place it depicts is especially pleasing. Bark on/bark off, soft woods or hard woods etc all make a difference.